
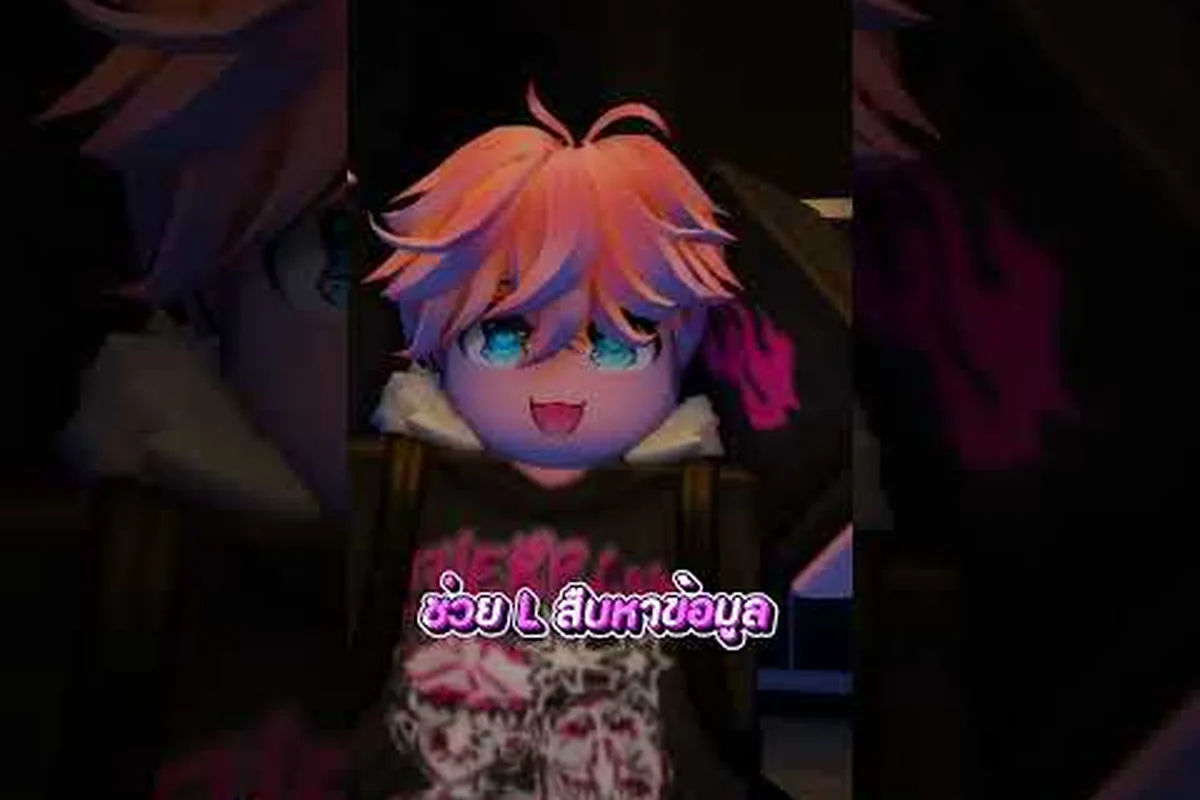
A clean BloxNote death note strategy is the difference between a Kira who controls the meeting and a Kira who gets voted out by round three. In BloxNote, the Death Note is the central piece the entire round revolves around, and every player in the lobby is either trying to keep it, find it, or stop the person holding it. Because the game condenses the Death Note anime premise into a four-role deduction loop, mastering the notebook itself means mastering who carries it, where it hides, and how the glow and pass animations give it away.
This guide breaks down the full BloxNote death note strategy stack. You will get a mechanic reference for the notebook, a complete map of the safest hiding spots, the timing tells that betray whoever is currently the notebook holder, and the meeting-phase plays that keep Kira alive long enough to win the final investigator vote.
BloxNote Death Note Mechanics You Must Know First
Before you can hide, pass, or outlast, you need the underlying rules. The Death Note is a single physical item that exists in exactly one player's inventory at any given time, and the round only ends when it is secured, used, or voted out. Every other role in the lobby — Kira Follower, L, and Investigators — is functionally defined by their relationship to that notebook. The Death Note anime premise on Wikipedia is a useful reference for the IP, but the in-game version compresses the rules into a fast deduction loop.
Item Lifecycle and the Holder System
The notebook spawns at the start of every round, gets assigned to a player, and changes hands through a single intentional action: the pass. There is no duplicate, no shared inventory, and no off-cooldown swap. The BloxNote notebook holder is whichever player is currently holding the item, and every other role in the game is working off a guess about who that is.
| Lifecycle Phase | What Happens | Kira-Side Priority |
|---|---|---|
| Round Start | Notebook is assigned to one player; the holder keeps it in inventory | Move away from spawn to avoid a meeting in the first 30 seconds |
| Mid-Round | Notebook can be hidden in the world or passed to a Kira Follower | Hide in low-traffic rooms to break line of sight |
| Pre-Meeting | Body is reported and emergency meeting begins | Stay calm, do not volunteer the route you took |
| Voting Phase | L and Investigators push for whoever is most likely the holder | Vote with the majority, do not be the lone Kira |
| Post-Vote | If Kira survives, notebook returns to a safe hiding cycle | Relocate the notebook immediately after the meeting |
Death Note Glow, Pass Animation, and Kill Feed
Three visual cues leak information about the BloxNote who has the death note in real time. According to the Death Note (manga and anime) article, the notebook itself is a supernatural object, and the in-game version signals its presence through a soft item glow that is visible to nearby players. The glow is faint, but it is the single biggest tell for the BloxNote how to spot the death note question.
-
Glow: The notebook emits a subtle aura while in a player's inventory, more visible in dark rooms. Investigators who know what to look for can confirm the holder from across a hallway.
-
Pass Animation: When the notebook is passed between players, both players freeze for roughly one second and a pass animation plays. Witnesses to a pass almost always have enough time to call an emergency meeting.
-
Kill Feed: Whenever a name is written, the kill feed pings the lobby with a short delay. Cooldown windows for the notebook are covered in detail in the death note cooldown reference.
These three tells mean that every Kira decision in BloxNote is a trade-off between using the notebook and being seen with the notebook. The BloxNote death note mechanics are deliberately noisy, which is why the side that hides better usually wins.
How to Hide the Death Note So Investigators Never Find It
The strongest BloxNote how to hide the death note play is the one that removes the notebook from your inventory entirely. The notebook can be placed into the world as a static prop, and once placed, the glow disappears and the holder becomes a normal player. The catch: the prop stays where you put it, and an Investigator who walks into that exact room with eyes on can pick it up.
Tier List of Safe Hiding Spots
Spots are ranked by investigator traffic, line-of-sight risk, and recovery time, and each tier reflects how those three factors interact across the standard BloxNote map rotation. The first three rows are top-tier for almost every map layout because they keep the notebook holder out of common-area sweeps and force investigators to spend precious report-window seconds checking high-traffic rooms first; the bottom two are situational, with the decoy common-area spot only paying off when paired with a second S-tier stash, and the on-character fallback reserved for emergency scrambles after a failed body dump.
| Tier | Spot Type | Traffic Level | Risk of Discovery | Best Use Case |
|---|---|---|---|---|
| S | Locked back rooms with one entrance | Very Low | Low | After the first body report, when eyes are on common areas |
| S | Behind a tall prop in a corner | Low | Low | Mid-round carry when you cannot afford to break line of sight |
| A | Inside an active task panel | Medium | Medium | Investigators busy with their own tasks will not sweep task rooms |
| B | In plain sight inside a common area | High | High | Decoy play only; distract Investigators from your real drop |
| C | On your own character | N/A | Constant | Emergency fallback when no safe spot is reachable |
Rules for a Clean Drop
-
Drop the notebook in a room that is off the investigator beaten path — the rooms players only walk through when they already suspect a body.
-
Always face away from the entrance when you place the prop, so the placement animation does not silhouette you to a player rounding the corner.
-
Never reuse the same spot twice in one round. Experienced L players memorize the three to five most popular hide spots on every map.
-
After placing, walk to a different room before calling or reacting to a meeting. Holding position near the drop is the single most common giveaway.
Once the notebook hits the floor, it becomes a neutral item — every role, from Investigator to Kira Follower to civilian, can pick it up on a free action, so the dropping Kira loses all exclusive claim the instant the animation finishes. If a known Kira Follower is within roughly two rooms, the cleanest play is a quick hand-off rather than a solo hide: toss it to your Follower during a chase or in a crowded body-call scenario, because a hidden notebook still reads as a Kira tell if an L player sweeps the room with a "who was last here?" question. The Follower then carries the death note to a drop site under far less suspicion, preserving both the original dropper's alibi and the Follower's cover for the next meeting.
Passing the Notebook Without Triggering a Meeting
The pass is the fastest way to move the notebook out of a dangerous position, but it is also the loudest action in the game. A successful pass requires both players to be within interaction range, no investigator in line of sight, and roughly one second of shared stillness. Mishandling any of those three conditions is how Kiras get voted out on day one.
When to Pass vs When to Hide
| Situation | Better Action | Reason |
|---|---|---|
| Kira Follower is in a safe adjacent room | Pass | Keeps the notebook in the Kira team, no recovery trip needed |
| No teammate nearby, an Investigator is closing in | Hide | Pass animation under line of sight is a guaranteed report |
| Meeting is imminent and you are alone | Hide | A passing attempt right before a vote telegraphs a teammate's location |
| You are the only Kira alive and a body is about to be found | Hide | Keeps the notebook off you when the meeting starts |
| Two Kiras alive, both at full health, in the same hallway | Pass | The holder is the bigger target; rotate the risk |
Pass Execution Steps
-
Line up the path: Walk into a room your teammate already occupies, not the other way around. Approaching them is less suspicious than them chasing you.
-
Close the door or step out of line of sight from any investigator angle. Hallway passes are reported more often than room passes.
-
Trigger the pass while standing still, not while running. The animation is shorter and easier to read for a teammate who is already watching.
-
Walk in opposite directions the moment the animation ends. Two players running the same direction after a pass is one of the classic BloxNote how to spot the death note tells.
-
Do not talk in chat about the pass for the rest of the round. Chat logs survive meetings and become evidence.
The passing mechanics deep dive covers the cooldown windows and Shinigami Eyes interaction in more detail, especially when the pass animation overlaps with the identity reveal. In practice, the pass window sits inside the standard 10-second reveal lockout — meaning if the notebook holder triggers the identity ability mid-animation, the pass can desync and leave both players holding the death note for roughly 0.4 seconds, which the server briefly logs as a duplicate holder. Crewmates and the BloxNote notebook holder should treat that overlap as a hard abort signal, because investigators can cross-reference the chat timestamp with the meeting call to reconstruct the swap order.
Reading the Lobby: How to Spot the Death Note Holder
From the investigator side, the BloxNote how to spot the death note skill is the inverse of the Kira hiding skill. You are not searching for a notebook; you are searching for a player whose behavior is inconsistent with an innocent role. The notebook is rarely seen directly, but the holder leaks information through movement, timing, and meeting votes.
Behavioral Tells by Role
| Tell | What It Looks Like | Why It Points to the Holder |
|---|---|---|
| Wrong-way walking | A player moving away from the body report at full speed | They are trying to put distance between themselves and the meeting zone |
| No task interaction | A "tasking" player who has not opened a panel in 90+ seconds | They are not a real investigator; they are waiting to write a name |
| Lone voting | A player who always votes with the majority in the last 5 seconds | Kira players avoid drawing attention by voting first |
| Glow spotting | A faint item aura on a player in a dark room | Direct confirmation of the holder, highest-confidence tell |
| Pass witness | A player seen freezing near another player for one second | The pass animation only happens between Kira and Kira Follower |
Reading Meeting Votes for the Holder
After direct sight, votes remain the second-strongest evidence for confirming the notebook holder during a BloxNote meeting, since every public vote in the chat log is timestamped and visible to all players for the rest of the round. Because vote timing, chat activity, and target choice are all publicly auditable, three recurring vote patterns are widely reported by the community as the most reliable holder indicators — each one tied to a specific behavior a real Kira almost always displays, which the next paragraphs break down individually.
-
Silent voters: Players who submit a vote but never speak in chat are statistically more likely to be Kira, because speaking invites follow-up questions.
-
Deflection votes: A player who immediately accuses someone else the moment the meeting starts is often rerouting attention away from themselves.
-
Last-second votes: A vote cast in the final second of the timer, after the rest of the lobby has decided, is the safest vote for a holder who wants to blend in.
Combining two of these tells in a single meeting is usually enough to push a vote. Combining three is almost always enough to remove the holder, which is why the next section focuses on the counter-strategy from the Kira side.
Kira-Side Strategy: Surviving the Investigator Vote
The BloxNote death note strategy is won or lost in the meeting phase. A Kira who wrote a clean name mid-round can still lose the round if they fumble the vote. The objective in the meeting is not to defend yourself; it is to make the lobby argue about someone else.
Meeting Playbook by Round Phase
| Round Phase | Kira Priority | Kira Follower Priority | L Priority |
|---|---|---|---|
| Round 1 | Stay quiet, vote with majority, do not defend the first body | Same | Push early accusation, write down every name |
| Round 2 | Cast suspicion on a real investigator who has not done a task | Back the accusation publicly to look cooperative | Re-read vote patterns, call second meeting only with evidence |
| Round 3+ | Offer an alternate suspect, deflect any follow-up question | Vote against the alternate suspect, not the holder | Force a final vote; if you are wrong, the round resets for investigators |
The Clean Accusation Pattern
A clean accusation is one that points the lobby at a player who is provably not the death note holder, buying time for the real notebook holder to slip past a vote. The pattern has three steps built around a single core mechanic: redirecting the investigator phase away from anyone whose task completion, position, or animation footprint could plausibly link them to the BloxNote. Each step exploits a different signal — proximity, behavior, and vote timing — so the accusation reads as a logical deduction rather than a random frame job, which is what makes Kira players statistically more likely to survive an early round.
-
Pick a real investigator who is currently standing near a task panel so the accusation has a visual hook.
-
Describe a specific behavior — "I saw them standing still in the hallway for thirty seconds" — rather than a generic "they are sus."
-
Cast your vote first to show confidence. Kira players who vote last are statistically more likely to be the holder, according to community vote data.
A clean accusation is wasted if it only buys one round of breathing room, which is why the notebook holder should immediately pivot toward the death note item guide for the underlying animation and ID-steal counter — the kill animation triggers a 0.8-second red flash on the screen that veteran Kira players learn to suppress, and the ID-steal counter ticks down from 60 seconds each time a confirmed victim is eliminated, meaning the real notebook holder must balance accusations against the timer rather than spam votes all shift.
Counter-Strategy: When You Are Behind as Kira
Even with perfect hiding, Kira can fall behind. When the lobby is closing in, the BloxNote death note strategy shifts from hiding to misdirection. The goal is no longer to keep the notebook safe; it is to make the round end before the next vote.
Three Misdirection Plays
-
Decoy drop: Hide a fake notebook in a high-traffic room, then drop the real one in a back room. An investigator who picks up the fake wastes a meeting arguing about who placed it.
-
Public write: Use the notebook on a low-value investigator in plain sight. The kill feed becomes the meeting topic, and the holder's identity becomes secondary to the larger chaos.
-
Double pass: When two Kiras are alive, pass the notebook twice in three seconds. The pass animation trail is hard to follow, and the lobby often misidentifies the final holder by one player.
The community reports that these misdirection plays work best on maps with at least four rooms and two chokepoints, because the decoy drop, public write, and double pass all need enough square footage for the notebook holder to break line of sight before investigators lock in a read. On tighter three-room maps, the pass animation trail resolves in under two seconds, and the lobby typically catches the real Kira within one voting cycle. The extra chokepoint also forces a body-report routing path that delays emergency meetings by roughly fifteen to twenty seconds, which is the window the holder needs to reposition the real death note.
Frequently Asked Questions
What is the fastest way to spot the death note holder in BloxNote?
Look for the glow in dark rooms and watch for the pass animation in hallways. The glow is the single most reliable visual tell, and a player seen freezing next to another player for one second almost always is either passing or receiving the notebook. Combine that with vote-pattern reading and you can usually confirm the holder within two meetings.
Where should a Kira hide the notebook after the first body report?
A locked back room with one entrance is the strongest spot, because investigator traffic drops sharply after a body report and the single entrance makes line-of-sight easy to control. Avoid reusing the same spot twice in one round — experienced L players memorize the most common drop locations on every map.
When should a Kira pass instead of hide the notebook?
Pass when a Kira Follower is already in a safe adjacent room and you can close the line of sight to all investigators. Hide when you are alone or when a meeting is imminent, because the pass animation under investigator line of sight is a guaranteed body report and a fast vote.
How does the notebook cooldown affect Kira strategy?
The notebook has a short cooldown between writes, which means a Kira who writes a name too early in the round loses the ability to strike again before the next meeting. Plan the round around the cooldown window, not around the kill feed, because the cooldown is the real clock that decides whether Kira can snowball the lobby.
Can a Kira Follower win the round without the notebook?
No. The Kira Follower is a support role whose win condition is tied to Kira, so the follower never holds an independent vote path to victory. Every pass and every hide routes back to keeping the BloxNote notebook holder alive through the final investigator vote. If the holder gets voted out, the Follower loses the round even with a clean alibi, which is why the Follower's optimal play is to draw investigator attention away from the holder and absorb a suspicious vote if it buys the holder one more meeting cycle.