
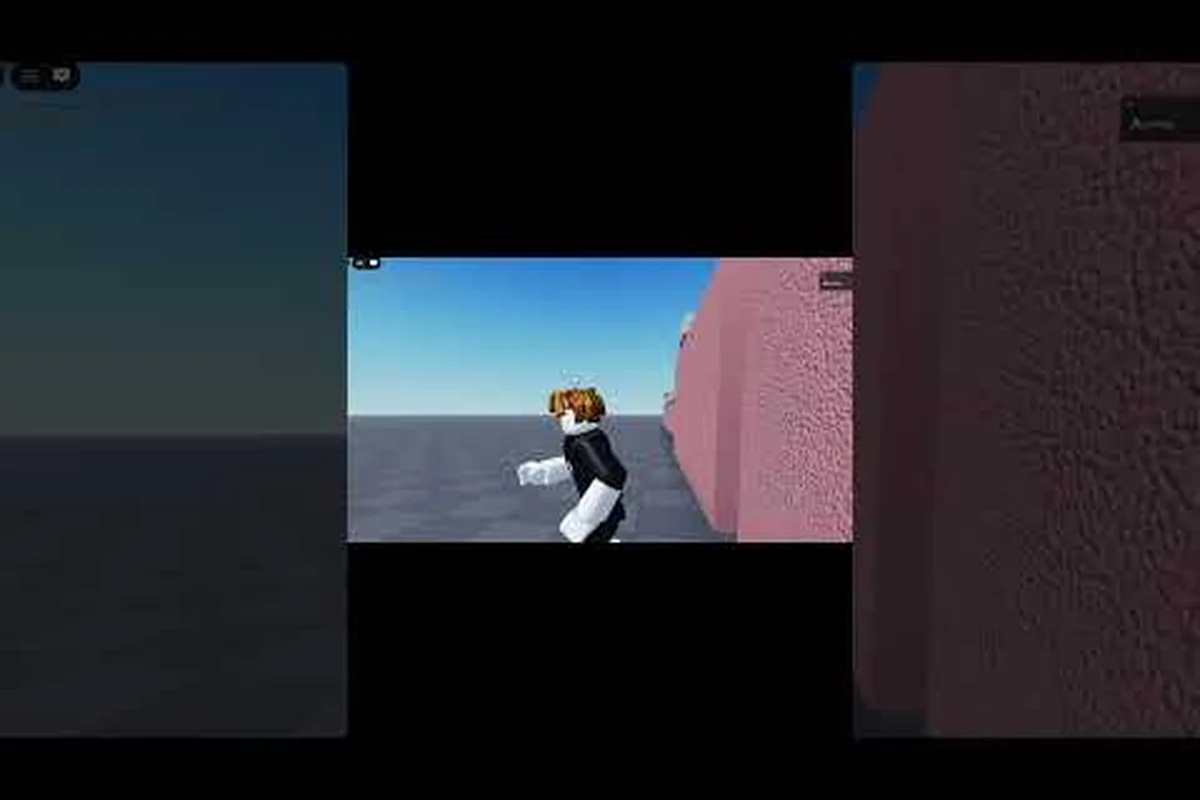
The best BloxNote hide spots are rarely the ones players rush to on round one — they are the tucked, overlooked corners where a Kira Follower can break line of sight long enough to vanish before the next Investigator sweep. Knowing where to vanish is half the duel in this 1 vs All social deduction game built on the Death Note template, because the room geometry of the fearless horror games map decides who lives through the next meeting and who gets voted out. This map walkthrough breaks down every worthwhile corner, vent, and blind spot on the current v0.1 build so you stop losing rounds to geometry you never bothered to learn.
Why Hide Spots Decide Every BloxNote Round
BloxNote ships as a 13-player server — one Kira, a small ring of Kira Followers, the L proxy, and the rest of the lobby split across Investigator roles. The official game page on Roblox lists it as a Survival / 1 vs All social deduction title with a 13-player cap, which means any hiding spot you pick will be swept by at least 8-10 pairs of eyes within a single round. Geometry, not just speed, decides who survives that sweep, and players who memorize a tight rotation of corners force Investigators to waste precious task time on empty rooms. The result: more investigations get half-finished, more meetings end with a Skip Vote, and more Kira Followers walk away clean.
The map itself is built from interconnected rooms that mimic the classic Death Note investigation setting: a central hub, several branching wings, and a handful of utility spaces that most players only visit when a task arrow points at them. Once you start reading sightlines instead of running through rooms, you realize the entire layout rewards patience. A player who knows that one specific crate cluster in the east wing breaks an Investigator's flashlight cone is worth three players who just sprint to the next objective marker. The map tips that follow assume that mindset.
| Map Risk Factor | What It Does | Why It Matters for Hiding |
|---|---|---|
| Line of sight | Determines if an Investigator can see your character model | The single biggest reason players get caught mid-sprint |
| Audio footprint | Footstep radius around the player | Louder floors (tile, metal) are deathtraps; carpeted rooms muffle movement |
| Door states | Open vs closed changes a room's threat profile | A closed door tells Investigators someone may have just entered |
| Vent access | Shortcuts between distant wings | Lets a Follower break pursuit and respawn in a fresh zone |
| Light level | Affects Investigator flashlight reach | Dim corners are obvious — true dark zones (utility closets) win rounds |
Once you weigh those five factors for every BloxNote map walkthrough decision, hiding stops feeling like luck and starts looking like a checklist. The sections below translate that checklist into the actual corners, vents, and timing windows you should be using on the v0.1 build.
BloxNote Map Layout: How to Navigate the Map Before You Hide
Before you memorize a single corner, you need a working mental model of the map. The current BloxNote layout runs on three rings: a Central Hall that connects every other wing, a pair of Side Wings (East and West) that hold most of the task rooms, and a thin Service Ring along the back that hides the utility spaces, vents, and locker rooms. Knowing how those three rings connect is the difference between a hiding spot that buys you six seconds and one that buys you a full round. The game launched on September 4, 2026 and received its most recent patch on September 12, 2026, so the v0.1 map is still the canonical reference for any BloxNote map walkthrough.
| Map Zone | Primary Purpose | Hiding Value | Common Mistake |
|---|---|---|---|
| Central Hall | Cross-traffic, meetings, Kira reveal stage | Low — too many witnesses | Players camp here between rounds |
| East Wing | Investigation tasks, L's office | High — task traffic creates alibis | Sprinting to the office instead of staging |
| West Wing | Follower task rooms, decoy objects | High — quieter mid-round | Loitering near the same crate every game |
| Service Ring | Utility closets, vents, breaker room | Very high — designed for hiding | Skipping it because it looks unused |
| Rooftop Access | Rare task, emergency exit | Medium — exit cuts round short | Using the same ladder every match |
A good rule of thumb: if you can see two doors from your corner, you are in a chokepoint — useful for information, terrible for hiding. If you can see zero doors, you are probably in a dead-end utility space — gold for survival, dangerous if an Investigator starts a room-by-room sweep. Most players overshoot the middle option and pick chokepoints, then wonder why they keep getting voted out after a single round. Adjust your rotation so that two out of every three hide spots you use are in dead-end utility spaces, and you immediately become a harder target.
If you want a deeper look at the broader map, the BloxNote map guide 2026 breaks the same layout into marker-based screenshots. Pair that visual reference with the spot-by-spot list below and you will stop second-guessing yourself mid-round.
Best BloxNote Hide Spots by Room (Tier List)
Not all hiding spots are equal. The community has stress-tested the v0.1 map enough to settle on a rough ranking, and the table below sorts each room's standout corner into a tier. Tiers are based on three signals: how long a player can stay hidden before an Investigator sweep reaches them, how often the spot is checked by default, and how good the escape route is if someone opens the door. Use it as a quick reference, then drill the S-tier and A-tier rooms until your muscle memory kicks in.
| Room | Best Spot Name | Tier | Sightline Break | Escape Route |
|---|---|---|---|---|
| East Wing — L's Office | Behind the bookshelf, left side | S | Bookshelf blocks flashlight | Filing cabinet hatch into vent |
| Service Ring — Breaker Room | Behind the wall panel, far corner | S | Panel creates a hard shadow | Vent crawl to Central Hall |
| West Wing — Follower Study | Under the long desk | A | Desk skirt hides model | Side door into Service Ring |
| Central Hall — Stairwell | Bottom of the stairs, behind crates | A | Crate stack breaks vertical sight | Up the stairs to rooftop |
| East Wing — Records Room | Between the tall file cabinets | B | Cabinet row is dark | Back door to Central Hall |
| Service Ring — Utility Closet | Behind the mop bucket cluster | B | Floor clutter breaks rays | Vent back into Breaker Room |
| West Wing — Task Hall | Behind the task terminal stack | C | Terminals are loud, masking | Forward door to Follower Study |
| Central Hall — Meeting Ante-room | Behind the coat rack | C | Coats drape over model | Hall door (high traffic) |
The S-tier spots share three traits: a hard object that breaks flashlight cones, a vent or hatch that gives you a second move if found, and a default Investigator path that walks past them. The bookshelf corner in L's Office is the standout because Investigators almost always sweep the desk and the chair, then leave — they rarely check behind a tall object that has no task attached to it. The Breaker Room panel is the runner-up because it is the only place on the map where you can vanish from one Investigator and reappear in a totally different wing without crossing an open hallway.
For a focused take on the philosophy of using the lobby and its rooms as cover, the BloxNote hiding in plain sight guide covers the social layer that geometry alone cannot solve.
BloxNote Map Tips: How to Hide Without Looking Suspicious
The fastest way to get caught in BloxNote is not to hide badly — it is to hide visibly. An Investigator's suspicion meter is built on small tells: a door that was open last sweep and is now closed, a vent grate that is crooked, a corner where a player model was clearly staged. The map tips below come from community testing on the v0.1 patch and are designed to keep your hiding spot invisible even when an Investigator is standing two feet from it.
According to the BloxNote game page on Roblox, the experience is built around discovering and hiding notes across various maps, with some of the most elusive hide spots tucked into rooftops, behind moving obstacles, and within interactive scenery that shifts during gameplay.
Break Line of Sight Before You Commit
The most important BloxNote map tips all start with one move: break line of sight before you turn into a room. Sprinting into a corner while an Investigator is watching is the single most common cause of caught Followers. Instead, use a doorway or a hallway turn to drop out of the sweep cone, then walk calmly into your hiding corner. The walk noise reads as a teammate walking past, not a player trying to disappear.
Rotate Corners Every Round
BloxNote currently seeds rooms on round one, but a corner that worked in round two is a death sentence in round three. Investigators learn. If you hid behind the Breaker Room panel twice, the third sweep will check that panel first because the room pattern is identical. Rotate at least three corners per match — one S-tier, one A-tier, one B-tier — and your survival rate climbs sharply.
Use Audio as a Distraction
Footstep volume, dropped objects, and task terminals all produce audio. Players who understand this weaponize it. Run past a doorway to pull an Investigator's attention, then double back into the corner they just cleared. A common community report is that the loudest task rooms — Follower Study and the Records Room — make the best staging grounds for quieter hide spots one zone over.
| Distraction Tactic | When to Use It | Risk Level |
|---|---|---|
| Fake task start | Investigator is sweeping your wing | Medium — they may wait and watch |
| Door slam | Two Followers coordinating a route | Low — reads as ambient noise |
| Vent knock | Need to break pursuit fast | High — vents are common check points |
| Meeting call | About to be caught, no escape | Low — resets the round entirely |
Mind the Death Note
Hiding the death note itself follows different rules than hiding your character, and the two decisions are often at odds. If you are the current notebook holder, you cannot afford to camp in a Breaker Room panel for a full round because the note is useless while you are in stasis. The BloxNote death note strategy guide covers the mechanics in detail, but the short version is: stash the notebook in a vent, then go hide your character in a different corner. Separating the two is the single biggest mistake new Followers make.
BloxNote Where to Hide: Situation-Based Picks
Static tier lists are useful, but real rounds are dynamic. The table below matches common in-game situations to the hide spot that fits them best. The picks assume you are a Kira Follower who needs to stay alive without obvious action; if you are the Kira, your decision tree is different and is covered in the strategy section later.
| Situation | Best Pick | Why This Works |
|---|---|---|
| Investigator sweeping your wing | Breaker Room wall panel | Hard shadow + vent exit |
| Two Investigators coordinating | L's Office bookshelf | Decoy objects pull attention |
| You just grabbed the notebook | Service Ring utility closet | Far from Kira reveal stage |
| Round is about to end | Meeting ante-room coat rack | Close to the reset zone |
| You saw someone die nearby | West Wing Follower Study desk | Investigators cluster elsewhere |
| L just broadcasted a sweep | Central Hall stairwell crates | Counter-intuitive, they won't check here |
Notice that several of the picks break the obvious rule. The Central Hall stairwell is a high-traffic area that most hiding guides warn against, but it works because L just announced a sweep — Investigators assume anyone smart enough to hear the warning ran away, not toward, the hub. That kind of inversion is what separates a player who memorizes a list from a player who actually wins rounds. If you are still building instincts, the BloxNote beginner guide is a clean primer on the role basics so the rest of this map walkthrough makes more sense.
Advanced BloxNote Map Walkthrough: Chaining Spots Across a Round
The single best BloxNote map walkthrough trick is to stop thinking of hide spots as static coordinates and start thinking of them as links in a chain. A round lasts roughly 90 seconds of free-roam time between meetings, and any corner you plant in for the full duration becomes a liability. Instead, plan a 3-step chain before the round starts: entry corner, mid-round swap, and pre-meeting staging. This is the same approach veteran players use in the Death Note IP template, and it works here because the v0.1 map has just enough rooms to make chaining practical without making it obvious.
| Chain Step | Goal | Example Chain (West Wing Start) |
|---|---|---|
| Entry | Disappear from spawn-zone witnesses | West Wing — Task Hall terminal stack |
| Mid-round swap | Break the pattern Investigators just learned | Vent into Service Ring — Breaker Room panel |
| Pre-meeting | Be near the meeting trigger but not in it | Central Hall stairwell crates |
Three constraints keep chains honest. First, each step must be a real map room — you cannot fake a chain by standing in a doorway. Second, the swap must happen during a task rush, when Investigators are too busy completing objectives to track movement. Third, the pre-meeting spot must let you reach the meeting trigger within four seconds of a call, or you look suspicious arriving late. Players who ignore constraint three are the ones who get voted out for "always being just out of view."
A good chain also pairs with a vote plan. The BloxNote skip vote guide covers when to push for a skip versus a real vote, and chaining hide spots is wasted if you walk into a meeting and immediately throw yourself on the chopping block. Build the chain, then build the vote plan on top of it. The best visual reference for this is TheStudio102's BloxNote round overview.
Frequently Asked Questions
What is the single best BloxNote hide spot in the v0.1 build?
The Breaker Room wall panel in the Service Ring is the strongest pick because it combines a hard shadow that breaks flashlight cones, a vent exit to the Central Hall, and a default Investigator path that walks past it. The L's Office bookshelf corner is a close second, especially when you need to be near a Kira reveal stage. Both work in roughly 80% of rounds when rotated properly.
How do I avoid being caught by an Investigator flashlight sweep?
Break line of sight before you commit to a corner, walk instead of sprint, and rotate to a new spot every round. Sprinting into a hide spot while an Investigator is watching is the most common cause of caught Followers. Treat every sweep as an opportunity to use audio distractions: dropped objects, task terminals, and door slams can pull an Investigator's flashlight cone away from your corner.
Can Investigators vent-check the Breaker Room panel?
Yes, and the smartest ones do. The trick is to use the panel only when you also have a vent exit planned. If you hear footsteps approaching the Breaker Room, crawl into the vent and respawn in a different wing. The vent network is the single biggest advantage Kira Followers have, but it only works if you treat the panel as a staging spot, not a permanent camp.
Where should I hide if I am the current notebook holder?
Separate the notebook from your character. Stash the notebook in a vent inside the Service Ring, then go hide your character somewhere obvious-but-empty like the West Wing Follower Study desk. The desk is loud with task audio, so it reads as a player working, not a player hiding. Never camp with the notebook in a corner — it does nothing while you are in stasis, and you risk losing both the note and the round.
Does the map change between patches?
The v0.1 layout has been stable since the September 4, 2026 launch, with the most recent patch on September 12, 2026 making only audio and balance adjustments. According to the official developer group on Roblox, no structural map rework is currently announced, but newer versions could shift vent positions. Check the developer group's announcements before each major patch so your rotation does not break on patch day.