
Reading BloxNote's Map Like a Deduction Board
In a 1 vs 12 social deduction round, the map itself is the second player — and most newcomers never learn to read it. BloxNote map design borrows heavily from the Death Note anime's indoor pacing, where every hallway turn decides whether Light slips past L or gets cornered. On the Roblox version, published by fearless horror games on September 4, 2026 (official game page on Roblox), the playable space is a single enclosed complex that 13 players share per server: one Kira, one optional Kira Follower, one L, and ten Investigators. Every wall, doorway, and task terminal is placed so that movement creates information, and information decides who gets voted out at the next meeting.
This guide walks the map room by room, then turns that room-by-room knowledge into a working BloxNote map strategy for both sides. By the end, you should know the natural BloxNote choke points, the dead BloxNote map corners that swallow careless players, the sightlines that tell you where to find players, and how the current BloxNote map list (a single primary map with a handful of cosmetic variants) shapes the early meta.
BloxNote Map List: What's Actually Shipped
BloxNote launched in early access with one tightly-designed map and a small number of variants. According to the BloxNote on Roblox listing, the developer calls the build a Survival / 1 vs All social deduction game, and players currently see a maximum of 13 concurrent users per server. That cap is a hard design number, because it lets the dev tune every room's capacity for a 12-person crowd.
| Map / Variant | Player Capacity | Visual Theme | Best Use Case |
|---|---|---|---|
| BloxNote Primary | Up to 13 | Anime-styled office block, indoor-only | Ranked and casual matches |
| BloxNote Lobby | Up to 13 | Pre-round waiting area with role reveal | Pre-round social play, role claiming |
| BloxNote Test Build | Variable | Dev sandbox, toggled by fearless horror games | Patch testing, not for live ranked play |
The Primary map is the only one that counts for BloxNote map strategy work. It contains the task terminals, the meeting room, the spawn zones, and the two hidden rooms that Kira and the Follower can use to write or pass a name. The Lobby exists only between rounds, and the Test Build is reserved for the dev group. If you are trying to figure out where to find players in BloxNote during a real round, the answer is almost always "inside one of the seven functional rooms of the Primary map."
How the Map Is Split Into Rooms
Even though the Primary map feels like one continuous building, the engine actually splits it into a small number of named regions. Each region has its own spawn weight, its own task density, and its own sightline risk. Community mapping of the v0.1 build groups them into the following functional zones.
| Room | Approx. Task Terminals | Traffic Level | Risk Profile |
|---|---|---|---|
| Main Hall | 2 | High | Open sightlines, easy to be seen |
| West Wing Offices | 3 | Medium | Desks create dead corners |
| East Wing Lab | 2 | Low–Medium | Tight choke at the door |
| Storage Room | 1 | Low | Single entry, ideal ambush spot |
| Server Room | 1 | Low | Dark corners, power-task location |
| Meeting Room | 0 | Spikes during calls | Central voting space |
| Hidden Annex | 0 | Very Low | Kira/Follower only |
A 13-player round means that on average, more than one person is almost always in motion. That constant traffic is what makes learning the rooms worth the time: the map decides who runs into whom.
BloxNote Choke Points: Where Every Round Collapses
Choke points are the narrow passages that force players into a single-file or near-single-file flow. In BloxNote map design, they exist for two reasons: to let Kira create ambushes, and to let Investigators corner a suspect. Most players notice the obvious ones only after they get killed. The smart approach is to memorize the map's natural bottlenecks before the second meeting.
The Three Mandatory Choke Points
Three corridors see nearly every player every round, because they connect the spawn zone to the task zones. They are the most reliable BloxNote where to find players spots, which means they are also the most reliable kill zones for a well-played Kira.
| Choke | Connects | Average Pass-Through | Best For Kira | Best For Investigators |
|---|---|---|---|---|
| Main Hall Doorway | Lobby → Main Hall | ~90% of round | Catching a player entering mid-task | Spotting alibis at a glance |
| West Wing Corridor | Main Hall → West Wing Offices | ~70% of round | Luring a lone Investigator | Pairing up to clear dead corners |
| East Wing Doorway | Main Hall → East Wing Lab | ~50% of round | Quick stabs near the power task | Blocking the Lab entrance as L |
The Main Hall Doorway is the single highest-traffic choke in the entire game. Because both spawn paths and most task chains route through it, a Kira who learns to hover just past the doorframe can intercept Investigators who are half-distracted by their task UI. A new player's first instinct is to sprint through; an experienced player's instinct is to peek, then commit. That peek-step is the entire BloxNote map strategy in miniature.
Why the Choke Points Decide Rounds
A single round of BloxNote usually lasts 4 to 6 minutes of free roam plus 1 to 3 meetings. The free-roam phase is where Kira needs kills and Investigators need completed tasks, and the choke points are where those two goals collide. According to community data shared on early BloxNote gameplay videos, the majority of confirmed Kira kills happen within roughly 4 studs of a corridor corner or a doorway. That is not a coincidence — the map is tuned to funnel players into kill windows.
If you are a Kira player, the meta is to hold one of these three chokes and wait for an Investigator to break line of sight with everyone else. If you are an Investigator, the meta is to never cross a choke alone in the first 90 seconds of a round, and to use the hardest task walkthrough routes that keep you near a teammate as long as possible.
BloxNote Map Corners: Dead Zones and Ambush Pockets
Corners are the opposite of choke points: they are the dead zones where sightlines fail. BloxNote map corners are not bugs in the level design — they are the engine's main tool for letting Kira exist in a game with 12 armed Investigators. Every desk row, every shelf stack, and every room recess is placed so that two players standing 3 studs apart cannot see each other.
The Seven Most Lethal Corners
Community reports from early BloxNote playtests group the most-cited ambush spots into seven recurring corner types. Each one is exploitable in both directions: a corner that hides a Kira also hides a lonely Investigator, and a clever L will use the same blind spot to verify an alibi.
| Corner | Location | Why It Works | Counterplay |
|---|---|---|---|
| Reception Desk Block | Main Hall, west side | Tall counter, blocks 2 sightlines | Walk the long way around |
| West Wing Cubicle Row | West Wing Offices | Three desks in a U-shape | Check every gap before passing |
| East Lab Pillar | East Wing Lab | Single thick column by the power task | Crouch and sweep |
| Storage Rack End | Storage Room | Last rack in a row of identical racks | Listen for footsteps |
| Server Rack Aisle | Server Room | Two parallel rows, only one entry | Always pair up here |
| Meeting Room Pillar | Meeting Room (center) | Decorative pillar used for cover during votes | Camera-facing only |
| Hidden Annex Door | Hidden Annex | The door itself is a corner | Never enter alone as non-Kira |
The Storage Rack End and the Server Rack Aisle deserve special attention. Both are rooms with a single entry door and a row of identical tall props inside, which means a player can stand behind any prop and another player cannot tell which one. These two corners account for a disproportionate number of "I never even saw them" complaints in BloxNote map strategy threads. The counter is mechanical: never enter a single-entry room alone, and if you must, hover at the doorframe for a full second before committing.
Corners as an Investigator Tool
Corners are not only a Kira advantage. Investigators who learn the same blind spots can use them to check for solo players who are not at a task terminal. A good rule of thumb: if you can hear footsteps near a corner, wait 3 seconds, then peek from a different angle. This forces a hiding Kira to either commit (and reveal themselves) or stay put (and lose their kill window). The hide spots guide maps the most common corner-abuse spots in greater detail, and it is the natural follow-up read after this section.
Sightlines: Where to Find Players and How to Avoid Them
Sightlines are the third pillar of BloxNote map design. A sightline is a straight, unobstructed line from one player to another. BloxNote's level art deliberately breaks most long sightlines with walls, props, and elevation changes, but a few sightlines still span multiple rooms. Knowing which sightlines exist is the cleanest answer to "where to find players in BloxNote."
The Sightline Cheat Sheet
| Sightline Name | From → To | Visible Range | Tactical Use |
|---|---|---|---|
| Main Hall Sweep | East door → West door | Almost full hall | Confirms room occupancy |
| West Wing Glance | Main Hall entry → First desk | ~40% of West Wing | Spots an Investigator at the wires task |
| East Lab Cross | Lab door → Power task | ~60% of Lab | Confirms power task runner |
| Storage Door Check | Hall → Storage doorway | Full doorway | Confirms whether the room is occupied |
| Server Aisle Shot | Server door → Last rack | Single line, no cover | L's favorite verification sight |
The Main Hall Sweep is the single most informative sightline in BloxNote. Because the hall is a long open room with two doors on opposite ends, a player standing at either end can see the entire space. That means the moment anyone walks into the hall, every player in line of sight knows it. This is why most experienced Kira players avoid the hall in the first minute of a round — it is simply too public.
By contrast, the Storage Door Check and the Server Aisle Shot are private sightlines. They only matter to the person standing in the doorway, which makes them powerful L tools. A well-played L will use these two sightlines constantly to confirm whether the rooms are empty without committing to entering them.
Using Sightlines to Hunt Kira
The most efficient Kira-hunting pattern in BloxNote is to chain sightlines together. Start at the Main Hall Sweep to see whether anyone is moving, then walk to the Storage Door Check, then to the Server Aisle Shot. This three-step loop covers roughly 70% of the map's task density in under 30 seconds. If you keep doing this loop and a player is consistently absent from the sightlines you would expect them to be in, that is your suspect. The role tips for new players article expands this loop into a full shift-by-shift routine for new Investigators.
BloxNote Map Strategy by Role
Knowing the rooms, chokes, corners, and sightlines is only useful if it changes how you play. The next step is to convert that knowledge into a role-specific BloxNote map strategy. The four roles in the current build are Kira, Kira Follower, L, and Investigator. The map treats them very differently.
Role Map Behavior Cheat Sheet
| Role | Default Spawn | Best Map Zone | Worst Map Zone |
|---|---|---|---|
| Kira | Hidden Annex | Storage Room, Server Aisle | Main Hall (too public) |
| Kira Follower | Main Hall | West Wing Cubicle Row | Meeting Room Pillar |
| L | Meeting Room | East Lab Cross, Storage Door | Hidden Annex |
| Investigator | Main Hall | Any task terminal, paired movement | Single-entry rooms alone |
For Kira, the map rewards patience. The Storage Room and the Server Room both have one entry and many corner spots, which lets a careful player wait for a single target to enter alone. A common BloxNote map strategy for early rounds is to let the first 60 seconds pass without a kill, then ambush the first Investigator who enters a single-entry room.
For Kira Follower, the job is to misdirect without being obvious. The West Wing Cubicle Row gives you enough corner cover to fake task progress, while still letting you watch who comes and goes. The Meeting Room Pillar is dangerous because it is a known cover spot — if you stand there, you are an easy vote.
For L, the map hands you a free tool: the private sightlines. The East Lab Cross and the Storage Door Check both let you verify a player's alibi without ever exposing yourself. Use them on rotation, and your kill count at meetings will rise.
For Investigator, the discipline is simpler: pair up, never enter a single-entry room first, and trust the sightlines over your ears. A useful BloxNote map strategy for first-time Investigators is to commit to one wing of the map per round — either West or East — and learn its corners before branching out.
How Meetings Reset the Map
Every emergency meeting or body report resets the map's information state. Once a meeting starts, the Main Hall fills up, the corners empty, and the sightlines become useless for ~30 seconds. This is the only time the map "pauses," and it is also the only time the role distribution can change via vote. The all roles breakdown covers how to read the role list before each meeting, which is the meta layer above the map knowledge in this guide.
Advanced Map Reads: Patterns Experienced Players Use
Once you can name every room, choke, corner, and sightline, the next step is to read the map in real time. Experienced players do not just memorize the layout — they watch the traffic pattern. If the West Wing has been quiet for 90 seconds, that silence is information. If two players walked into the Storage Room 10 seconds ago and the door is still closed, that is also information. Reading these patterns is what separates a top-tier BloxNote player from a newcomer.
Three Real-Time Reads You Can Build Today
-
The Wing Silence Read: if one wing of the map has had no traffic for 90+ seconds while the other wing is busy, the silent wing is likely where a kill is about to happen. Either a Kira is about to strike, or a player is already dead. The fastest Investigators respond to silence the same way they respond to a body report.
-
The Meeting Door Read: right before a meeting is called, watch who comes in from which door. A player entering from the Hidden Annex side (if visible) is almost certainly Kira or Follower, because the regular spawn paths do not route that way.
-
The Power Task Choke: the power task is in the East Wing Lab, and the door to the Lab is one of the three mandatory chokes. If the power task is not getting done and the Lab door keeps opening and closing, that is a strong signal that a Kira is camping the choke and resetting the door timer to bait prey.
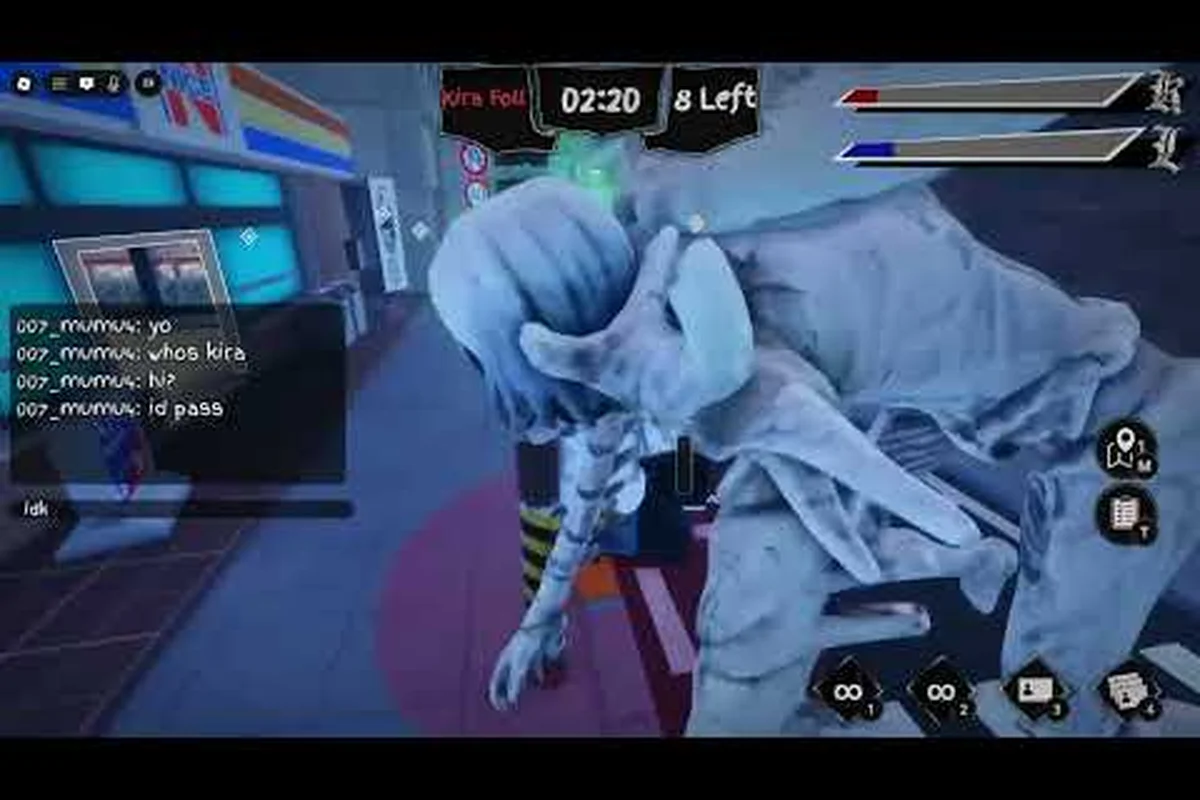
These reads are not in any official guide. They come from community playtesting and from watching early BloxNote gameplay videos, including a first-look BloxNote gameplay video by BielWtrades that shows the spawn flow and the first moments of a round. Treat them as community patterns rather than hard rules, because the dev group is still actively tuning the map in early access.
What the Map Tells You About the Patch Cycle
Because BloxNote is still in version v0.1 (last updated September 12, 2026 per the Roblox listing), the map is not final. The choke points, corners, and sightlines described in this guide reflect the build as of that date. If a future patch adds a second floor, a rooftop, or new annex rooms, the entire BloxNote map strategy above will need to be re-evaluated. Bookmark the all tasks list alongside this guide, because tasks and map rooms are usually patched together.
Frequently Asked Questions
How many maps are in BloxNote right now?
The current build ships with one main map (the Primary indoor complex) plus a Lobby and a Test Build. Casual and ranked play only use the Primary map, so when players talk about BloxNote map design they almost always mean that one room set.
Where do players usually hide in BloxNote?
The most common hiding spots are the Storage Room's last rack, the Server Room's middle aisle, the West Wing cubicle row, and the corners behind the reception desk in the Main Hall. These are the same BloxNote map corners that experienced L players check first.
What is the best way to find other players on the map?
Chain the public sightlines: start with the Main Hall Sweep, then walk to the Storage Door Check, then to the Server Aisle Shot. This three-sightline loop covers most of the task density in under 30 seconds and is the simplest answer to where to find players in BloxNote.
Are choke points more useful for Kira or for Investigators?
Both. Kira uses the chokes to ambush lone players walking between rooms, while Investigators use the same chokes to set up two-person blockades that force a suspect to either reveal themselves or break visual contact. Whichever side holds the choke more cleanly usually wins the early-game information war.
Does the BloxNote map change between patches?
The Primary map has stayed consistent through the early-access patches so far, but the dev group has flagged the build as v0.1 and is still tuning. Any BloxNote map strategy should be re-checked after each Roblox update, because new rooms, props, or corridors can shift choke points and sightlines overnight.